


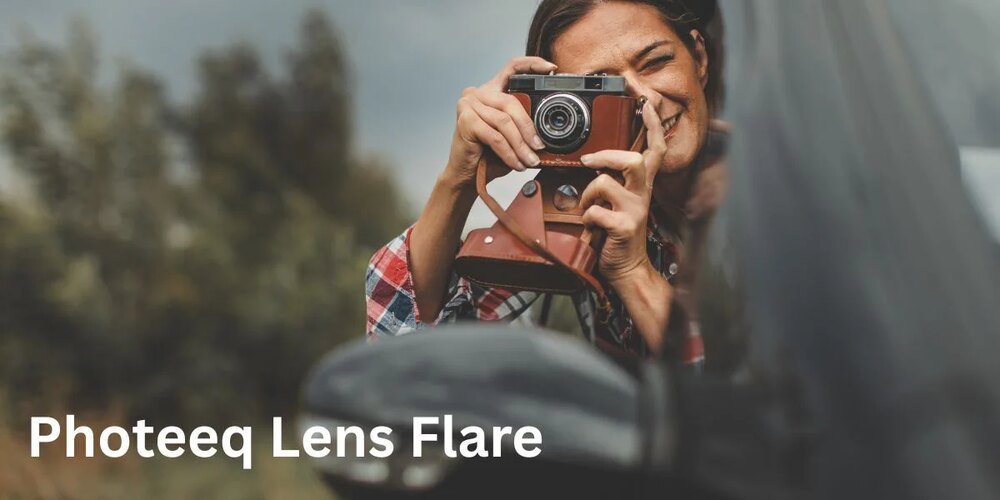
Photeeq Lens Flare – Complete Guide for 2025
Introduction In the world of photography and digital editing, light has long been recognized as one of the most
Introduction
In the world of photography and digital editing, light has long been recognized as one of the most powerful tools for storytelling. One effect that has fascinated both professionals and enthusiasts is the lens flare, a visual artifact that occurs when light scatters inside a camera lens. Today, with the rise of advanced editing software and plugins, this effect can be replicated and controlled with precision. Among the many tools available, Photeeq Lens Flare has become a favorite for photographers, designers, and content creators. It enables artists to simulate cinematic light effects with ease, allowing them to transform ordinary images into extraordinary visuals. Whether you’re enhancing a sunset photo, adding drama to a concert shot, or polishing editorial photography, Photeeq Lens Flare provides the creative freedom to achieve professional-level results without relying solely on unpredictable natural flares.
The Basics of Lens Flare
Before diving into the features of Photeeq, it’s essential to understand the basics of lens flare itself. Traditionally, lens flare occurs when light enters a lens directly and scatters, creating streaks, rings, or haze across an image. This effect was once considered a flaw, as it reduced image clarity and contrast. However, modern photography has embraced lens flare as an artistic effect, using it to add warmth, mood, and visual interest. There are different types of flares: ghosting flares that appear as repeated shapes, streak flares that cut across the frame, halos that glow around light sources, and soft veiling glare that adds atmospheric depth. In digital editing, lens flare can be recreated artificially, giving editors complete control over its position, intensity, and color. This is where Photeeq Lens Flare stands out, offering realistic simulations that mirror the beauty of natural flares while providing flexibility that in-camera shooting cannot guarantee.
What Makes Photeeq Lens Flare Special
What sets Photeeq Lens Flare apart from generic editing tools is its combination of realism and customization. Unlike the default lens flare filters found in many programs, Photeeq is designed as a powerful plugin compatible with platforms such as Photoshop, Lightroom, and Photopea. It doesn’t just overlay predesigned flares; instead, it simulates the way light behaves through glass, producing results that look cinematic rather than artificial. Users can select from a range of presets, including radial flares, linear streaks, vintage glows, and more, making it easy to match the effect to a project’s theme. Every detail, from the color temperature to the opacity and scale, can be customized. Another advantage is its non-destructive workflow. Photeeq Lens Flare works with layers, allowing users to experiment without permanently altering their original image. Real-time previews enable easy testing of variations and fine-tuning of effects, providing photographers and designers with complete creative control.
Benefits of Using Photeeq Lens Flare
The benefits of Photeeq Lens Flare extend far beyond aesthetics. For one, it adds cinematic quality and mood to images, transforming a simple shot into something that feels alive and immersive. A portrait at golden hour, for example, can be enhanced with a warm flare that softens skin tones and adds depth. Another advantage is speed and efficiency. Instead of waiting for the perfect natural light conditions or relying on unpredictable sun flares, photographers can recreate the effect in seconds. This is especially valuable for commercial projects, social media campaigns, and advertising, where time and consistency are crucial. Photeeq also empowers editors to apply non-destructive, customizable effects, meaning every adjustment can be reversed or refined without damaging the original image. The plugin’s versatility also makes it suitable for a wide range of creative industries, from fashion photography to travel blogs, where standout visuals can have a direct impact on engagement and audience growth.
How to Use Photeeq Lens Flare (Step-by-Step)
Getting started with Photeeq is straightforward, even for beginners. After installing the plugin, launch it within your preferred editing software. The first step is to duplicate your base layer so that all edits remain reversible. Next, open Photeeq and browse through its collection of presets. Depending on your image, you may choose a subtle radial glow for portraits or a dramatic streak for landscapes. Once a preset is selected, you can position the flare according to the image’s light source, ensuring a natural appearance. Adjustments such as brightness, hue, and size can be fine-tuned for precision. Blend modes allow you to integrate the flare seamlessly into your scene, while opacity controls help balance its visibility. For advanced users, masking tools enable the limitation of effects to specific areas, thereby enhancing realism. Finally, adjust the color temperature to match the overall tone of the photo—warm for sunsets and cool for urban night scenes.
Best Practices for Natural Results
While Photeeq makes lens flare accessible, using it effectively requires an eye for balance and realism. One of the most important best practices is aligning the flare with the actual direction of light in your scene. If the sun is positioned in the top right corner of a landscape, placing a flare in the opposite corner will break the illusion. Subtlety is also key; overusing intense flares can overwhelm the subject and make the photo appear unprofessional. Another helpful tip is to match the color of the flare with the mood of the image. For example, a warm orange flare complements golden-hour portraits, while a bluish flare suits futuristic or urban themes. Finally, combining Photeeq Lens Flare with other editing techniques such as color grading, vignettes, or depth of field adjustments can elevate your final image, making it both cinematic and believable.
Common Mistakes to Avoid
Even though Photeeq offers powerful tools, it’s easy to make mistakes if the effect is not applied thoughtfully. One standard error is overuse, where the flare dominates the image and distracts from the main subject. Another mistake is incorrect placement, which breaks the illusion of natural light. If the flare doesn’t align with the direction of the sun or artificial light in the photo, it can appear artificial. Color mismatches are another pitfall. Applying a cool-toned flare to a warm sunset can clash with the scene’s atmosphere. Finally, failing to adjust intensity often leads to unrealistic results. To avoid these issues, always double-check alignment, color harmony, and brightness before finalizing your edits.
Top Use Cases for Photeeq Lens Flare
Photeeq Lens Flare can be applied across multiple photography and design styles. In outdoor portraits, it can recreate dreamy golden-hour effects even if the natural lighting wasn’t ideal. Landscape and travel photographers often use it to enhance sunsets, sunrises, or reflective water scenes. In event and concert photography, Photeeq can emphasize stage lights, adding energy and movement to the image. Fashion and editorial photographers use it to give a cinematic polish to their shoots, making visuals more dramatic and eye-catching. Social media creators also benefit, as unique, high-quality visuals with flares stand out in crowded feeds, attracting more engagement and shares.
Photeeq vs Other Lens Flare Tools
When comparing Photeeq Lens Flare to alternatives, its strengths become clear. In-camera lens flares can be beautiful, but they’re highly unpredictable, depending on factors such as lens type, angle, and weather conditions. Built-in Photoshop and Lightroom flare filters exist, but they often feel outdated and have limited customization options. Competing plugins and apps may provide presets, but Photeeq offers deeper control, intuitive usability, and realistic rendering that many tools lack. This makes it a preferred choice for both professionals and hobbyists who want consistency and creativity without compromise.
Conclusion
Photeeq Lens Flare is more than just a digital effect—it’s a creative tool that allows photographers, designers, and visual storytellers to bring light to life in their work. By understanding the basics of lens flare, leveraging Photeeq’s unique features, and applying best practices, users can achieve results that are cinematic, polished, and visually engaging. Whether you’re editing portraits, landscapes, fashion shoots, or social media content, Photeeq offers the flexibility to create standout visuals that resonate with your audience. For creatives looking to stay ahead in 2025, mastering Photeeq Lens Flare is not just an option—it’s a necessity.
Do Read: Monoprice 110010 – Affordable High-Quality Headphones Review